
If you don’t know coding and want to set up Google Tag Manager in WordPress? No need to worry, in this article we will show you how to properly set up and install Google Tag Manager in WordPress. First, we should know what Google Tag Manager is.
Let’s Start!
What is Google Tag Manager?
As we all know that website owners need to add multiple code snippets to track their conversions, events, clicks, traffic, and gather other analytics data.
With Google Tag Manager you can easily add and manage all of these scripts from only one dashboard i.e. Google Tag Manager dashboard.
There are different build-in templates such as Google Adwords, Analytics, DoubleClick, etc.
One more feature about GTM, it also works with third party analytics and tracking platforms.
Apart from the built-in templates, custom HTML is also available to add your own code or any other code that you want to add.
GTM saves your time of adding and removing tags in your website. And also makes it easy for you to handle the website from a single dashboard.
Here is the video of how to set up or install GTM in the WordPress website.
If you want some more information and instructions then continue reading.
*Please note that this guide is for self hosted wordpress.org.
Setting Up Google Tag Manager
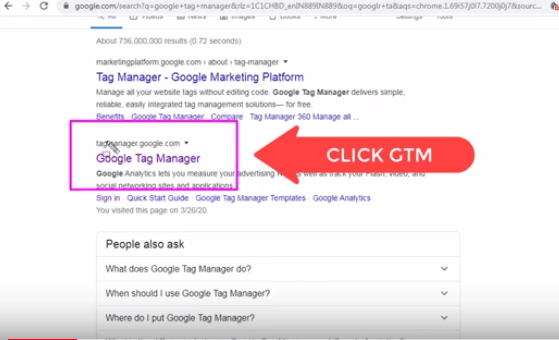
First visit the website of Google Tag Manager and sign up.
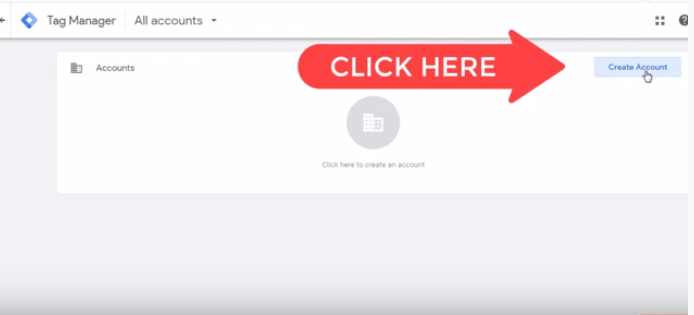
Once login is done, you will come to the new account page. Now provide a name for your GTM account and click on the continue button.
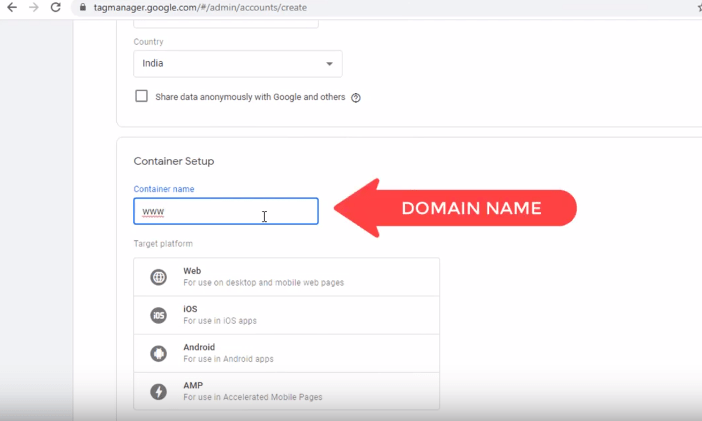
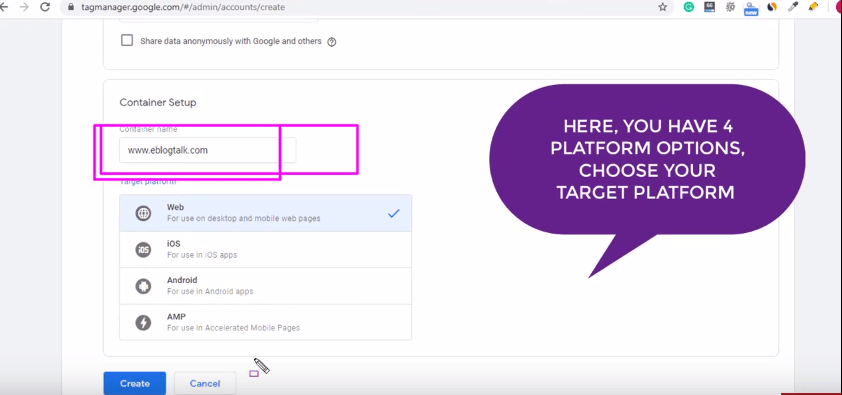
Now you have to add a container to your account. And also there are 4 platforms including website, app, iOS, and Android platforms. Choose according to your target.

Here eblogtalk will use the web. Now in the container name, give the site’s domain name. You can add multiple containers for each account. Now click on create button to continue.
GTM will now create the account, now you will see the container dashboard like this.
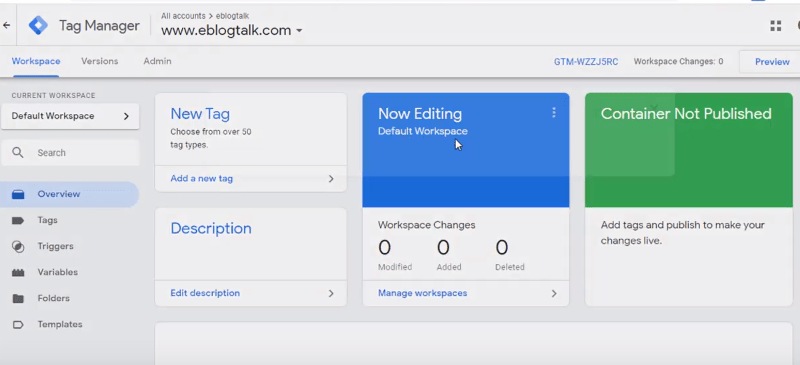
Now, Copy the ID from here, and go to the WordPress plugin and click on add new.

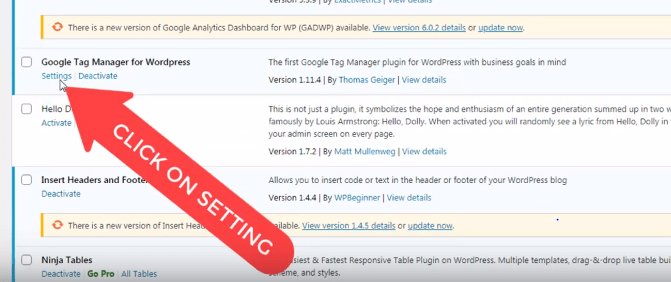
And install the GTM for WordPress and activate it.

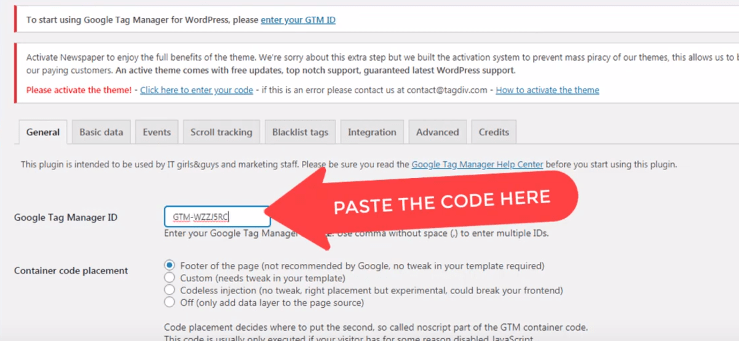
Once activation is done, go to the setting of GTM for WordPress plugin and paste the GTM Id there. And click on save change.
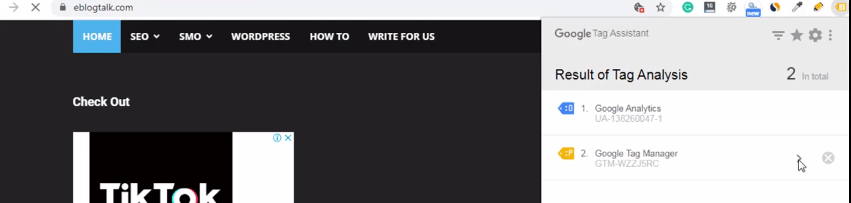
Now your GTM account is ready to create a tag. Check the GTM tag implemented on your website or not by GTM extention.
Finally, we hope this article will help you to add GTM on your website.
If you liked this article, then please subscribe to our YouTube Channel for WordPress video tutorials. You can also find us on Twitter and Facebook. Share eblogtalk informational articles with your friends and on social media. Thank you.